How to Photograph Your Room for AI Interior Design (So the Render Actually Matches)
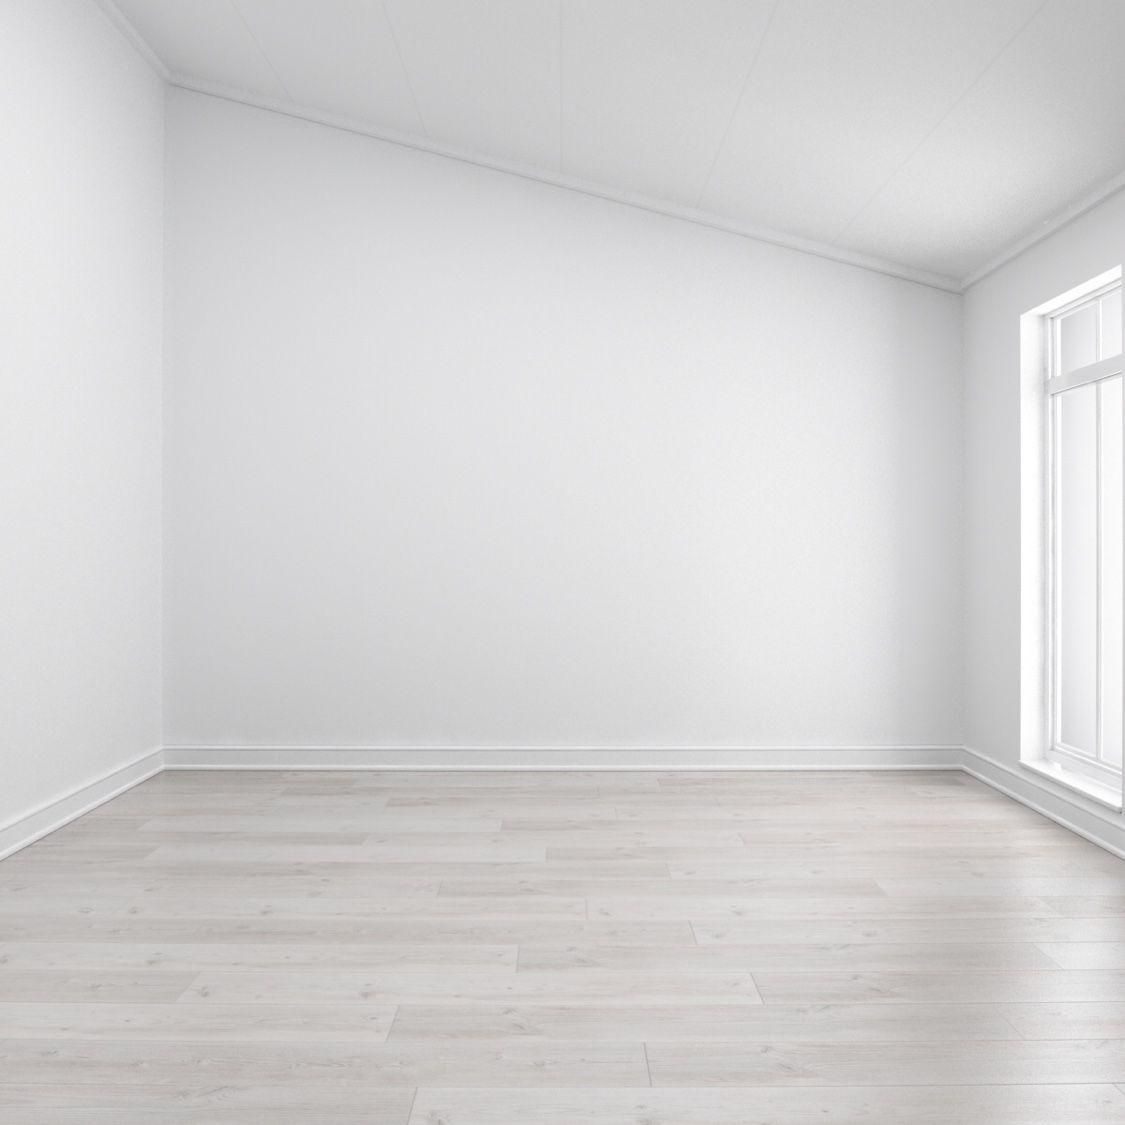
The best photo for AI interior design is taken from the doorway, at chest height, in daylight with the lights off, on a phone's normal lens — showing the floor, at least two walls and the main window. That one photo gives the tool everything it needs: proportions, light direction and layout. Most disappointing renders trace back not to the prompt but to the photo: a wide-angle shot that stretches the room, a night shot with yellow lamps, or a close-up of one corner. This guide fixes that in about a minute.
Why the photo matters more than the prompt
Photo-based tools like Styly read the geometry of your room from the picture — where the walls meet, how tall the window is, which way the light comes from — and then repaint the surfaces and furniture on top of that structure. If the photo lies about the room (a wide-angle lens makes a 3 m wall look 5 m), the render will be a beautiful picture of a room you don't have. A clean photo plus a plain prompt beats a perfect prompt on a bad photo every single time.
The 6 rules for a photo AI can work with
- Shoot from the doorway or the corner opposite the main window. This shows the whole room and the way light actually enters it.
- Hold the phone at chest height (about 1.2–1.4 m), perfectly level. Tilting up or down makes walls lean, and the tool will render leaning walls.
- Use the normal 1× lens — never the 0.5× ultra-wide. Ultra-wide stretches everything near the edges and adds 30–50% to the apparent room size.
- Daylight, lamps off. Open the curtains and shoot mid-morning or mid-afternoon. Artificial light casts a yellow tint that the tool will faithfully reproduce in every render.
- Show the floor, at least two walls and the main window in one frame. The floor gives scale; the window gives the light direction; two walls give depth.
- Clear the obvious clutter, but leave the furniture. The tool needs to see the sofa to keep it (or replace it); it does not need to see the laundry.
The 5 photos that always fail
1. The ultra-wide shot
Everything at the edges stretches, the room looks twice its size, and the render suggests furniture that will never fit. If your phone has a 0.5× button, don't touch it.
2. The night shot
Warm lamps turn white walls beige and the tool treats that as the true wall color. Every render then comes out yellow. Wait for daylight — it's worth it.
3. The close-up of one corner
A single corner has no floor and no proportions. The tool invents the rest of the room, and what it invents is never your room.
4. The tilted-down photo
Shooting from standing height while tilting down makes the floor huge and the walls lean inward. Renders look like a fish tank. Keep the phone level.
5. The photo with someone in it
People and pets confuse the layout detection and occasionally get 'furnished'. Step out of the frame.
Which room, which angle
The doorway rule covers most rooms, but a few need a specific angle to work well.
Angle by room type
- Living room: from the entrance, facing the main window or the TV wall — whichever is the focal wall you want redesigned.
- Bedroom: from the foot of the bed or the doorway, showing the headboard wall and the window. The headboard wall is what most renders change.
- Kitchen: from the room's entrance, showing cabinets, counter and floor together. Kitchen renders need all three to keep the layout believable.
- Bathroom: from the door, showing the vanity, the shower or tub, and the floor. Bathrooms are small — shoot at chest height or the mirror will dominate.
- Empty room or new build: from the corner opposite the window. Empty rooms are the easiest case — no furniture to preserve — so light direction is all that matters.
- Exterior / facade: from across the street, straight on, in daylight without harsh shadows. Include the ground and the roofline.
Sixty seconds spent on the photo saves ten minutes of prompt rewriting. The prompt cannot fix a room the tool cannot see.
— The one rule to remember
The 60-second pre-upload checklist
Run through this before you hit upload. If all six are true, your first render will already be close.
Checklist
- Standing in the doorway or the corner opposite the window
- Phone at chest height, level (no tilt)
- 1× lens, not ultra-wide
- Curtains open, lamps off, daytime
- Floor + two walls + window in the frame
- Nobody in the shot, worst clutter moved out
Take the photo, then try it in 10 seconds
Upload your photo, pick a style, and see your actual room redesigned — same walls, same window, same proportions. Free, no login.
Upload a photo and try it free →Room photos for AI design — FAQ
What is the best angle to photograph a room for AI interior design?
From the doorway or the corner opposite the main window, at chest height, level. This shows the floor, two walls and the window in one frame, which is what the tool needs to read the room's proportions and light direction.
Can I use a wide-angle photo for AI room design?
It's better not to. Ultra-wide (0.5×) lenses stretch the edges and make the room look 30–50% bigger, so the render suggests furniture that won't fit in the real space. Use your phone's normal 1× lens.
Should I tidy the room before taking the photo?
Move obvious clutter (laundry, cables, boxes) but leave the furniture. The tool needs to see the sofa, bed or kitchen to keep them in the redesign or replace them realistically.
Does the photo need to be high resolution?
Any modern phone photo is fine. Resolution matters far less than angle and lighting — a sharp 12-megapixel daylight shot from the doorway beats a 48-megapixel night shot of a corner.
Can I photograph an empty room?
Yes, and it's actually the easiest case: there is no furniture to preserve, so the tool only needs the walls, floor and window. Shoot from the corner opposite the window so the light direction is clear.